Please note: Software of this page remains your original file un-touched.
- There is no risk to them. Please do not select one of your original file names as the name for the target.
- If you do, still software leaves it safe, adds "_ZZ" to its tail before extension ".pdf" to keep the original file unharmed.
- Software of this page has no limitation on the number of files and size of the files.
- Please allow them enough of time if your files are large, in particular for high resolution PDF files.
Download the software from the download (click) page.
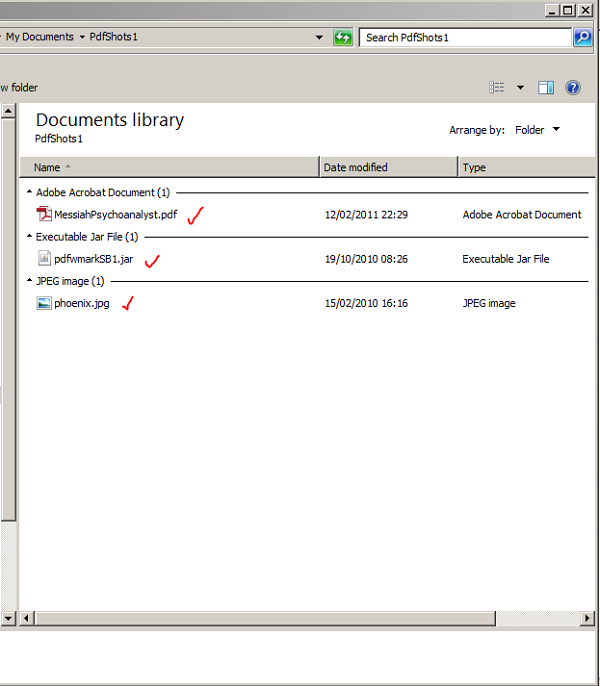
Put the "JAR" file somewhere in a folder in your computer.
Put the file to be water marked in the same folder. If you like to add an image as a water mark please put that image in the directory too. This is for convenience. You can brows to any place in your computer when using the software.
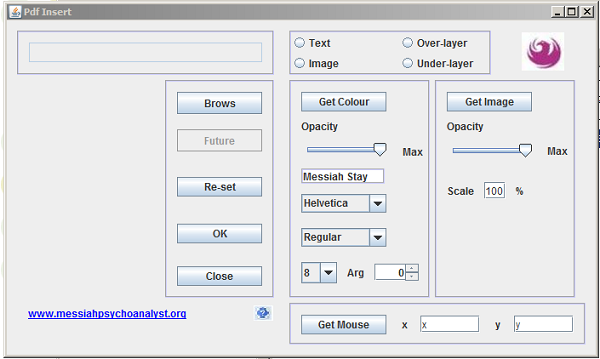
Double-click on the software "JAR" file to open it.
If you do not press "Enter" button, when required, just the text already there goes into the process and might not give your expected result.
Click on "Brows" button, and go to your target directory.
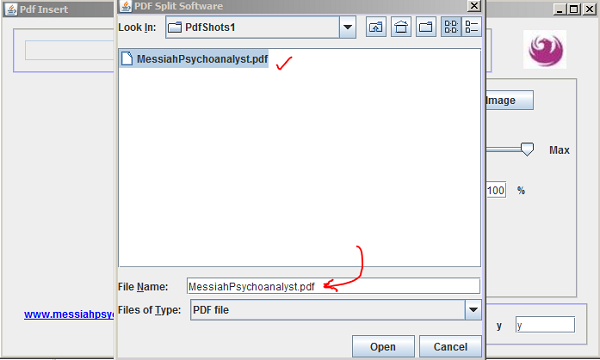
Enter a name for the created water marked file.
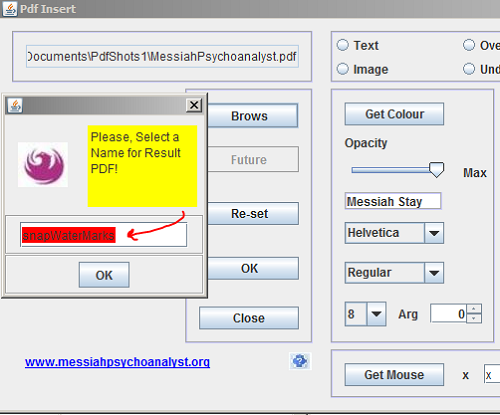
Click on "Text" radio button. The text field becomes clear for you to input the text of your water mark.

Enter that text and then press "Enter" button on your keyboard. Then please click on "Get Color" button.
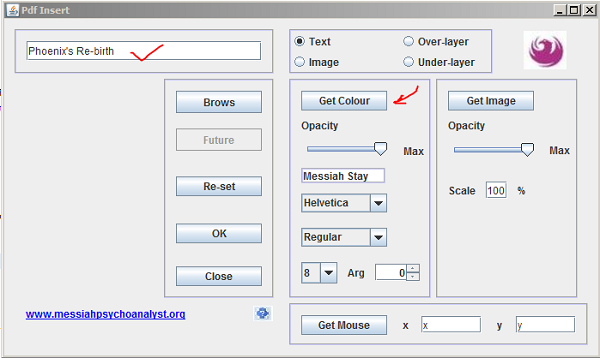
Select your desired colour for the water mark.
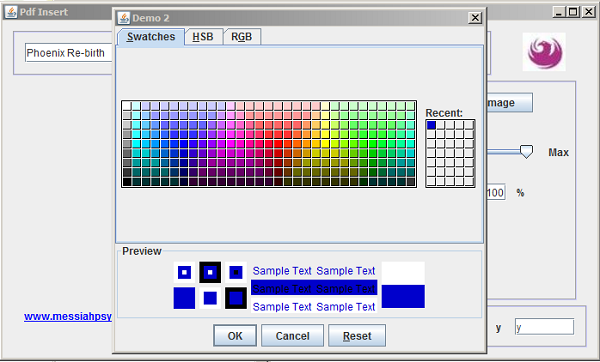
Many of the produced PDF documents are not transparent and do not show water mark if you put the water marks as "under layer;" then the water mark exists but is hidden from the sight.
Hence, decide if you like it to be as under-layer or as over layer by clicking on the "over-layer" or "under-layer" radio button; respectively
If the water mark comes as "Over-layer" it might cover parts of your document under it.
Please choose opacity to make it transparent enough to show the materials of the document beneath the water mark. Do it by adjusting "Opacity" slider. value of opacity is shown in the text field below the slider that shows your selected colour too.
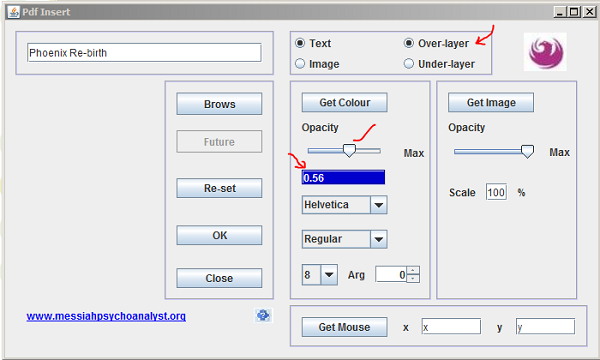
Select font face, font style, and font size and orientation of the water mark text on your document from the drop-down menus available.
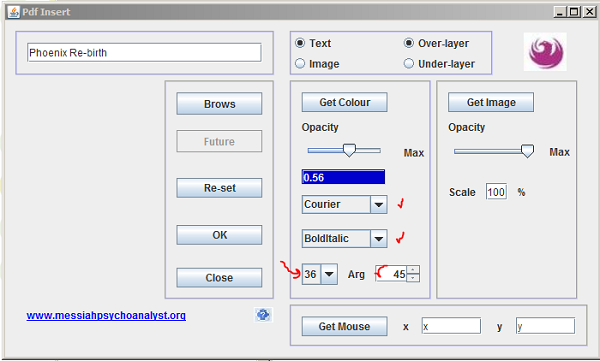
Please double click (that is a double click) on "Get Mouse" button to bring the paper guillotine grid on the left panel.
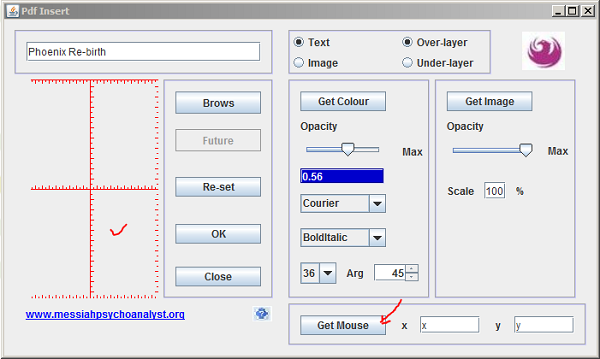
When you are moving the mouse on that grid, the coordinates, in terms of the first page of your document appears in the x and y text fields in the bottom right panel of the software GUI.
Now please double click (that is a double click) on the point that you like to put centre of the water mark text there. Values of that coordinate become frozen in the x and y text field.
Then please click on "OK" button.
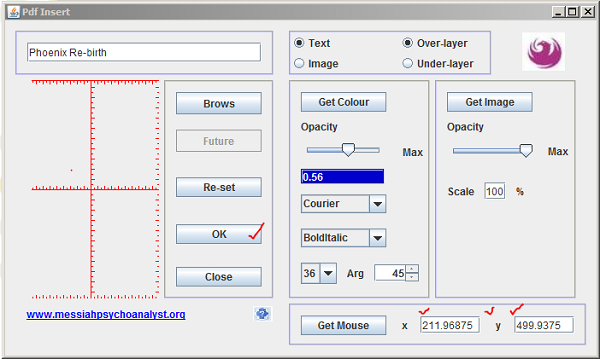
Voila, your document looks like this. If you water mark your document with an Internet "URL" such as "www.somewhere.com" then moving the mouse at that point shows a small hand as a hyper link that could be clicked to its target.
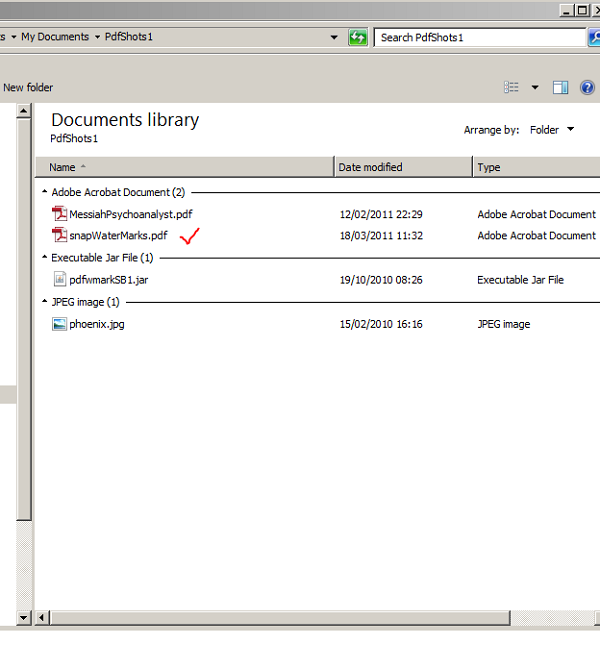
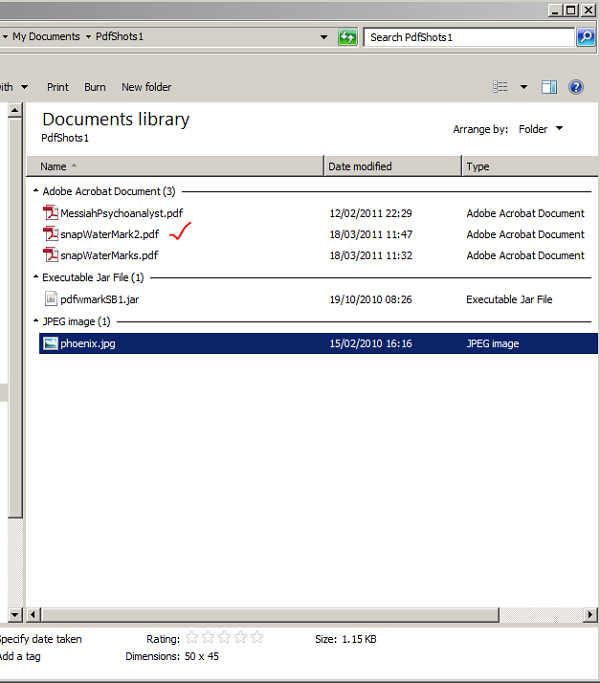
The water marked document comes into the directory next to your original file.
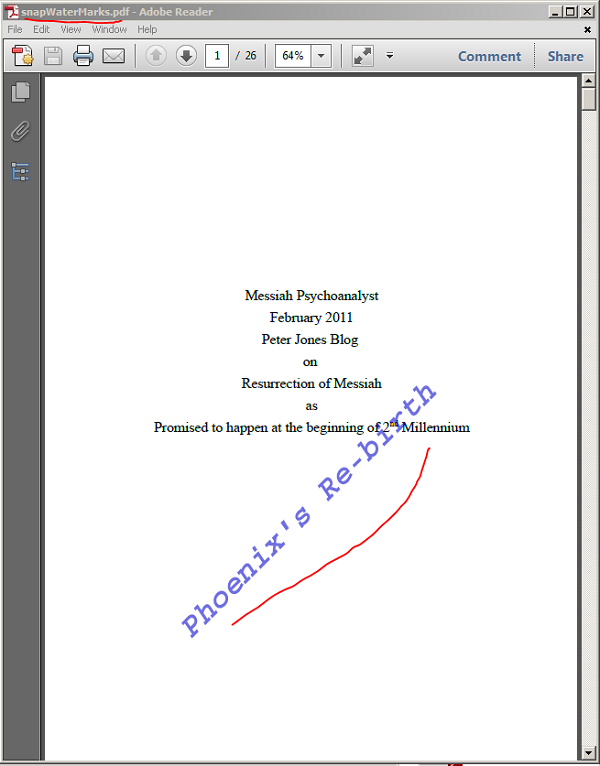
Now we brows again to water mark our stamped file with an image.
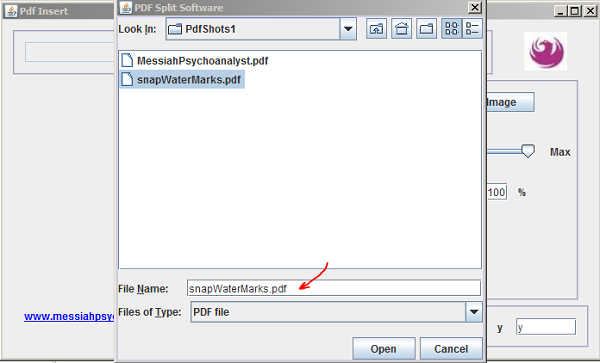
Text field shows our file's name. Please click on "Image" radio button. Decide for "Under-layer" or "Over-layer" by clicking on the respective radio button.
Then please click on "Get Image."
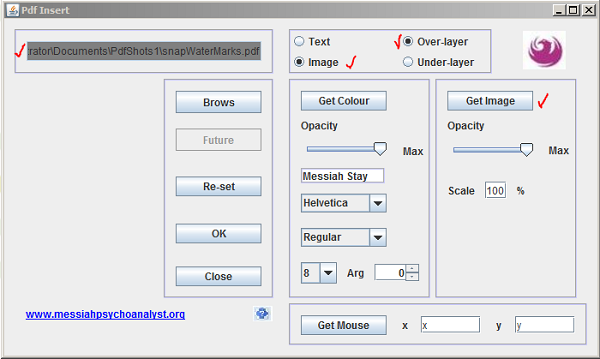
Go to the directory where you have your image for the water mark.
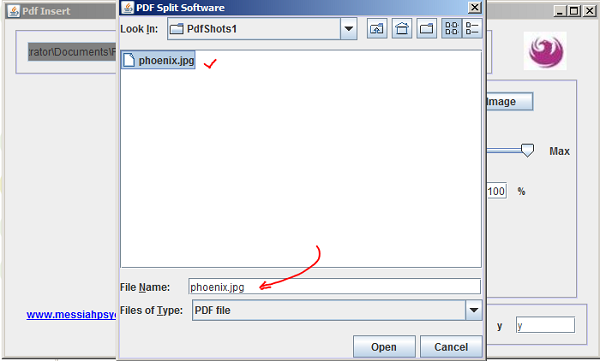
Then please decide for the value of scale image to size your image, then press "Enter" on your keyboard.
Now double click on "Get Mouse" button, and bring the paper guillotine grid on the left panel.
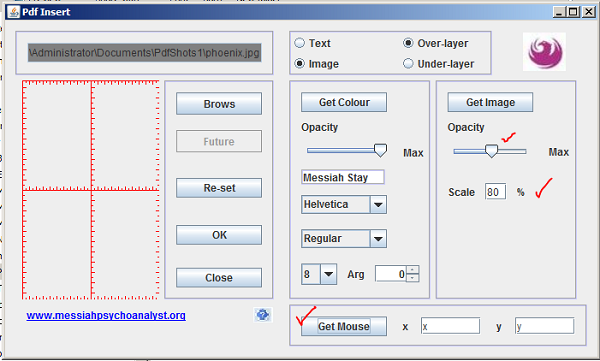
Please double click (that is a double click) on the point that you like to put centre of the water mark text there. Values of that coordinate become frozen in the x and y text field.
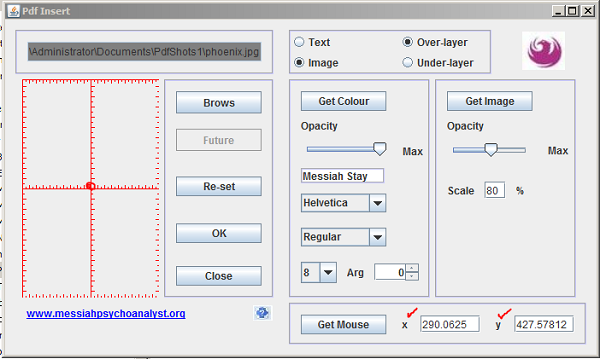
After you click on the "OK" button, the copy of the document watermark with image goes into the directory next to your original file.
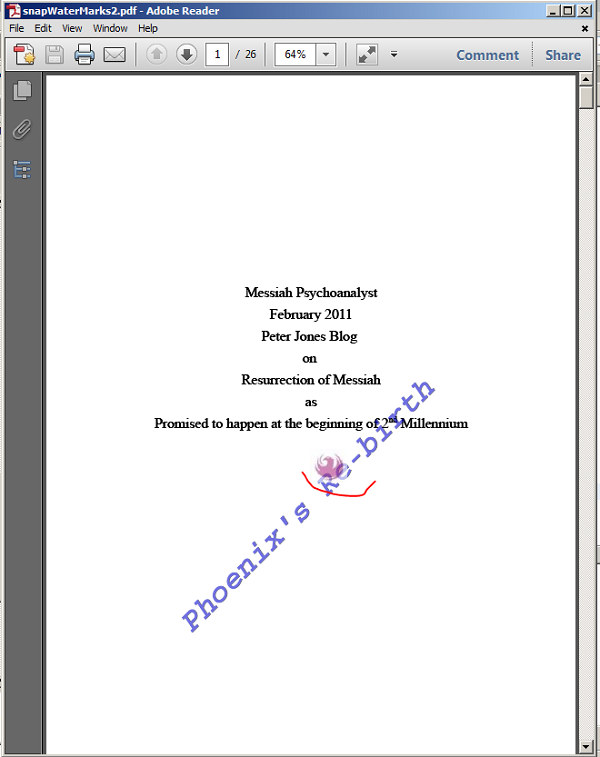
Here is your water marked document.

This page is maintained by Peter Jones, a Welsh mariner
No table is used in layout of this page; only Div tags.
First created
Last quality revision (of Web page by W3C Validator)
Optimised for ![]()
![]()
![]()
![]()
![]() HTML5, CSS3
HTML5, CSS3
Last updated
Number of downloads at this date

10:20 01/06/2010
18:40 21/11/2013
18:35 21/11/2013
19:19 01/04/2014
exceeds 36,000

